Cameras
This section will discuss Cameras, including how to set up the user's camera for a lesson.
The video for this section is below:
User Camera
The User Camera is an object in the Xplorer Creator, and is represented in the Viewport as a camera icon.
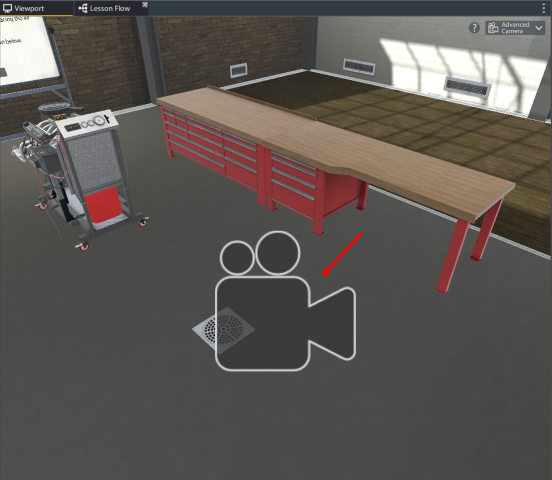
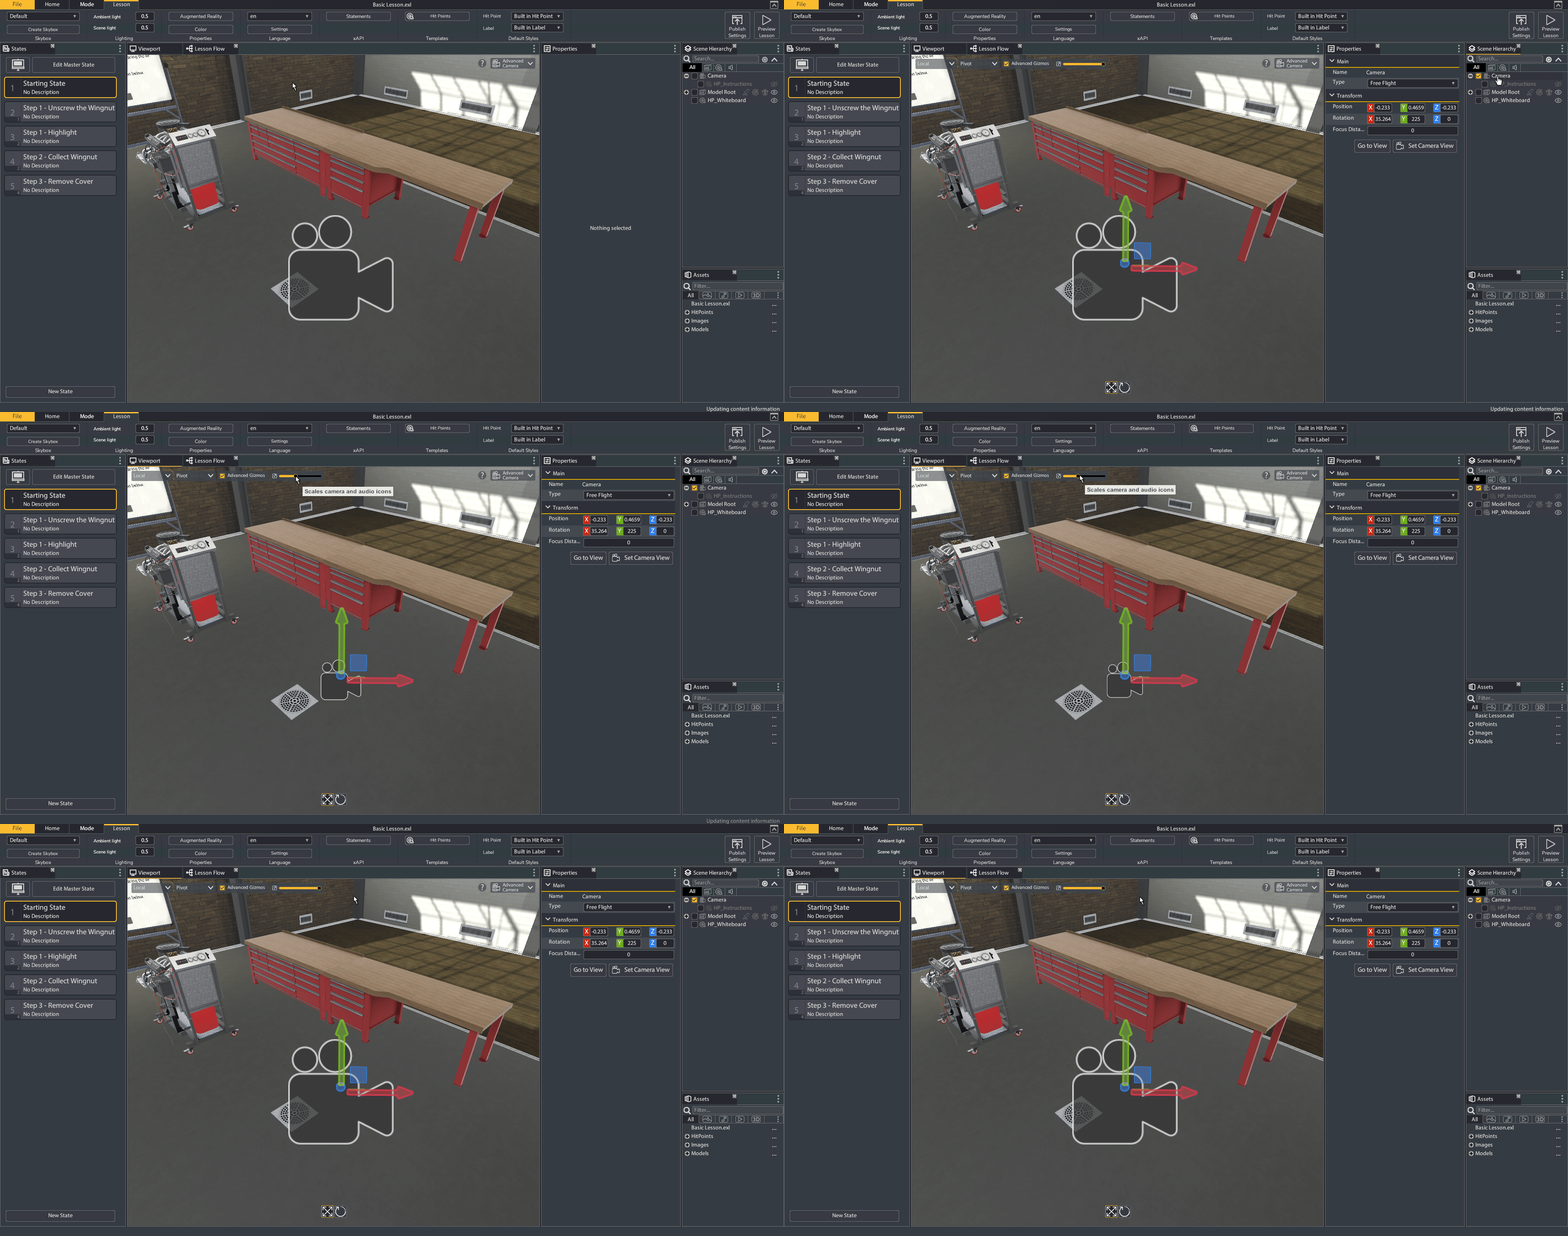
The size of the icon can be adjusted via the slider in the Viewport, which is visible when an object is selected.
As an object, the User Camera can have per-state Properties, which means we can adjust its position and behaviour for each state.
Adjusting the User Camera
As an object, the User Camera can be positioned in the same as models and Hit Points. With the Camera selected, we can move it within the scene via the Transform gizmos in the Viewport. We can also adjust its Transform Properties directly in the Properties window.
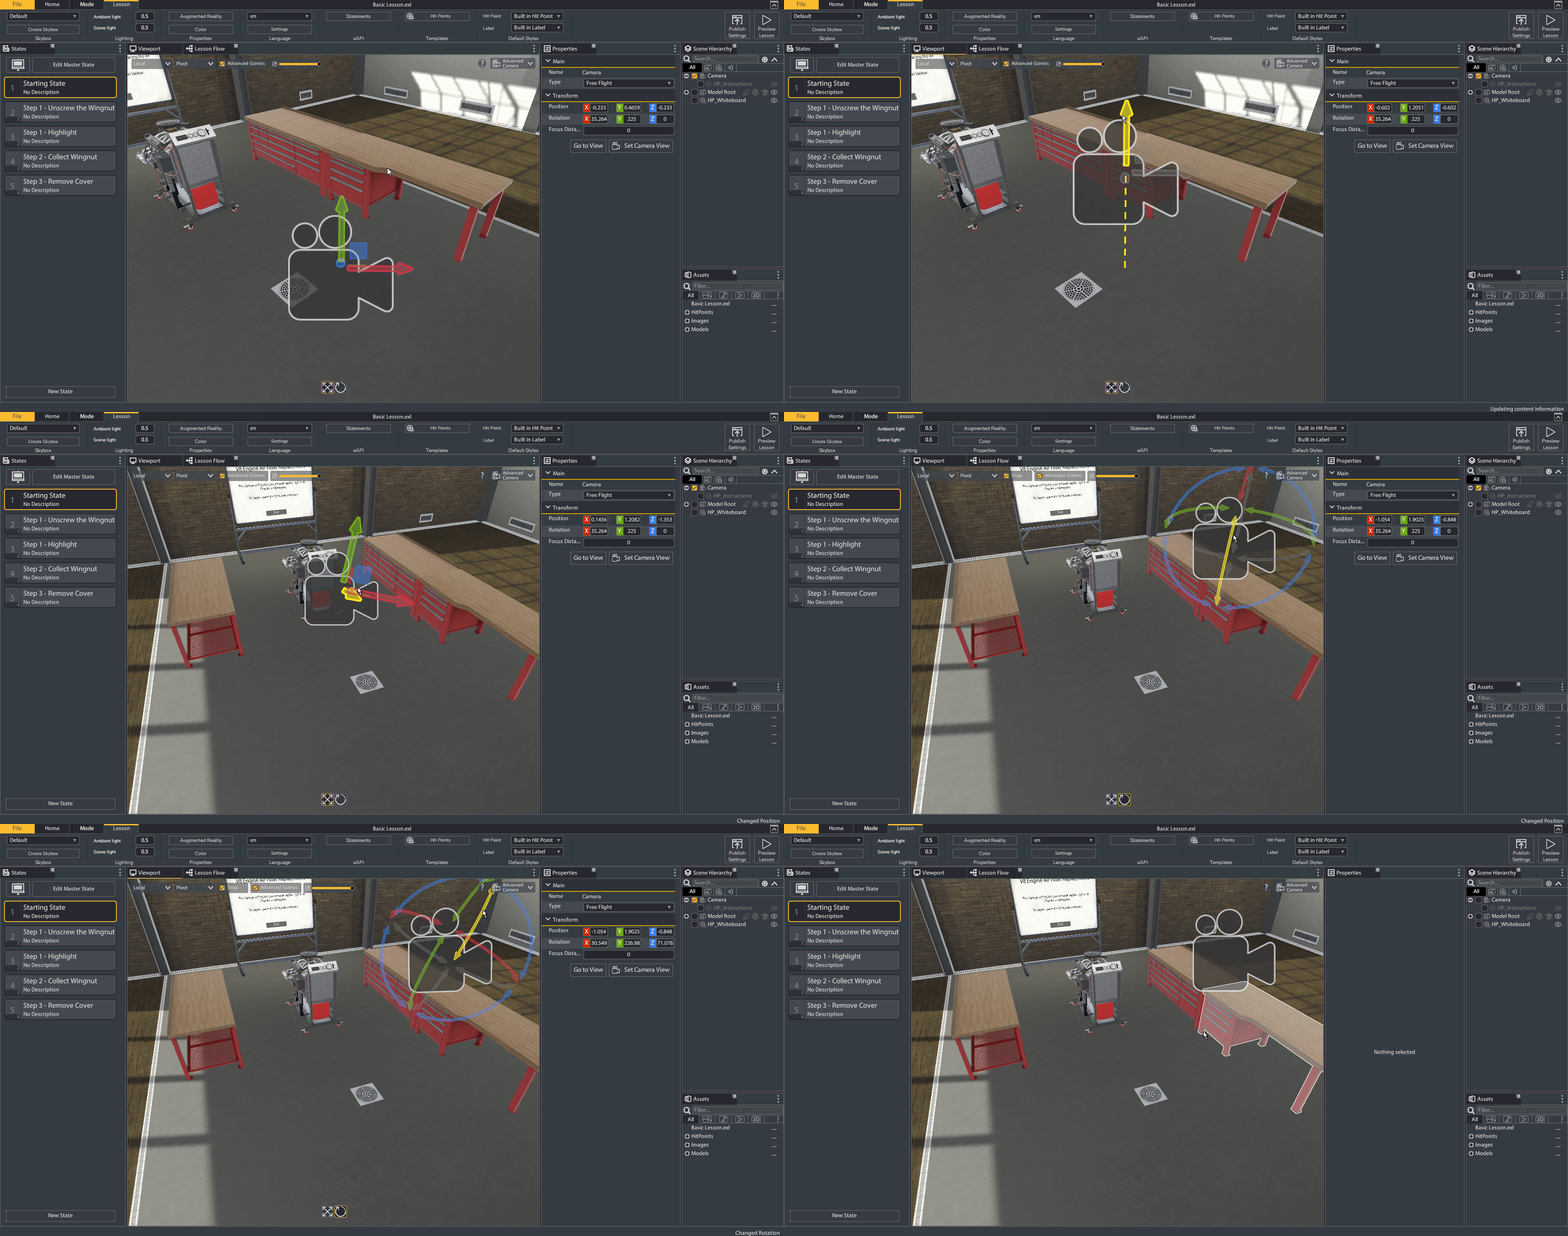
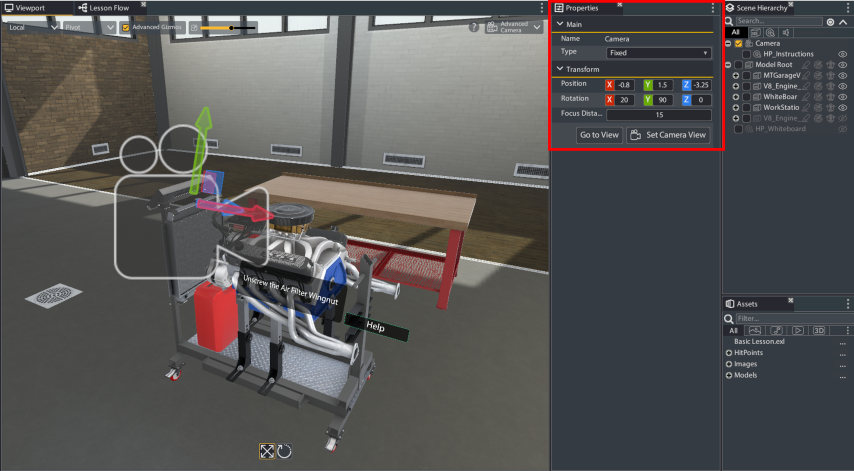
Go to View and Set Camera View
A quick way to adjust the User Camera's position is via the Go to View and Set Camera View buttons.
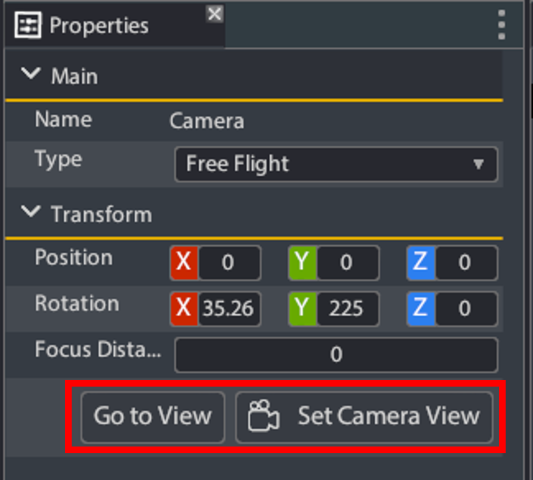
- Go to View: This option will cause the Viewport camera to mirror the User Camera's current settings.
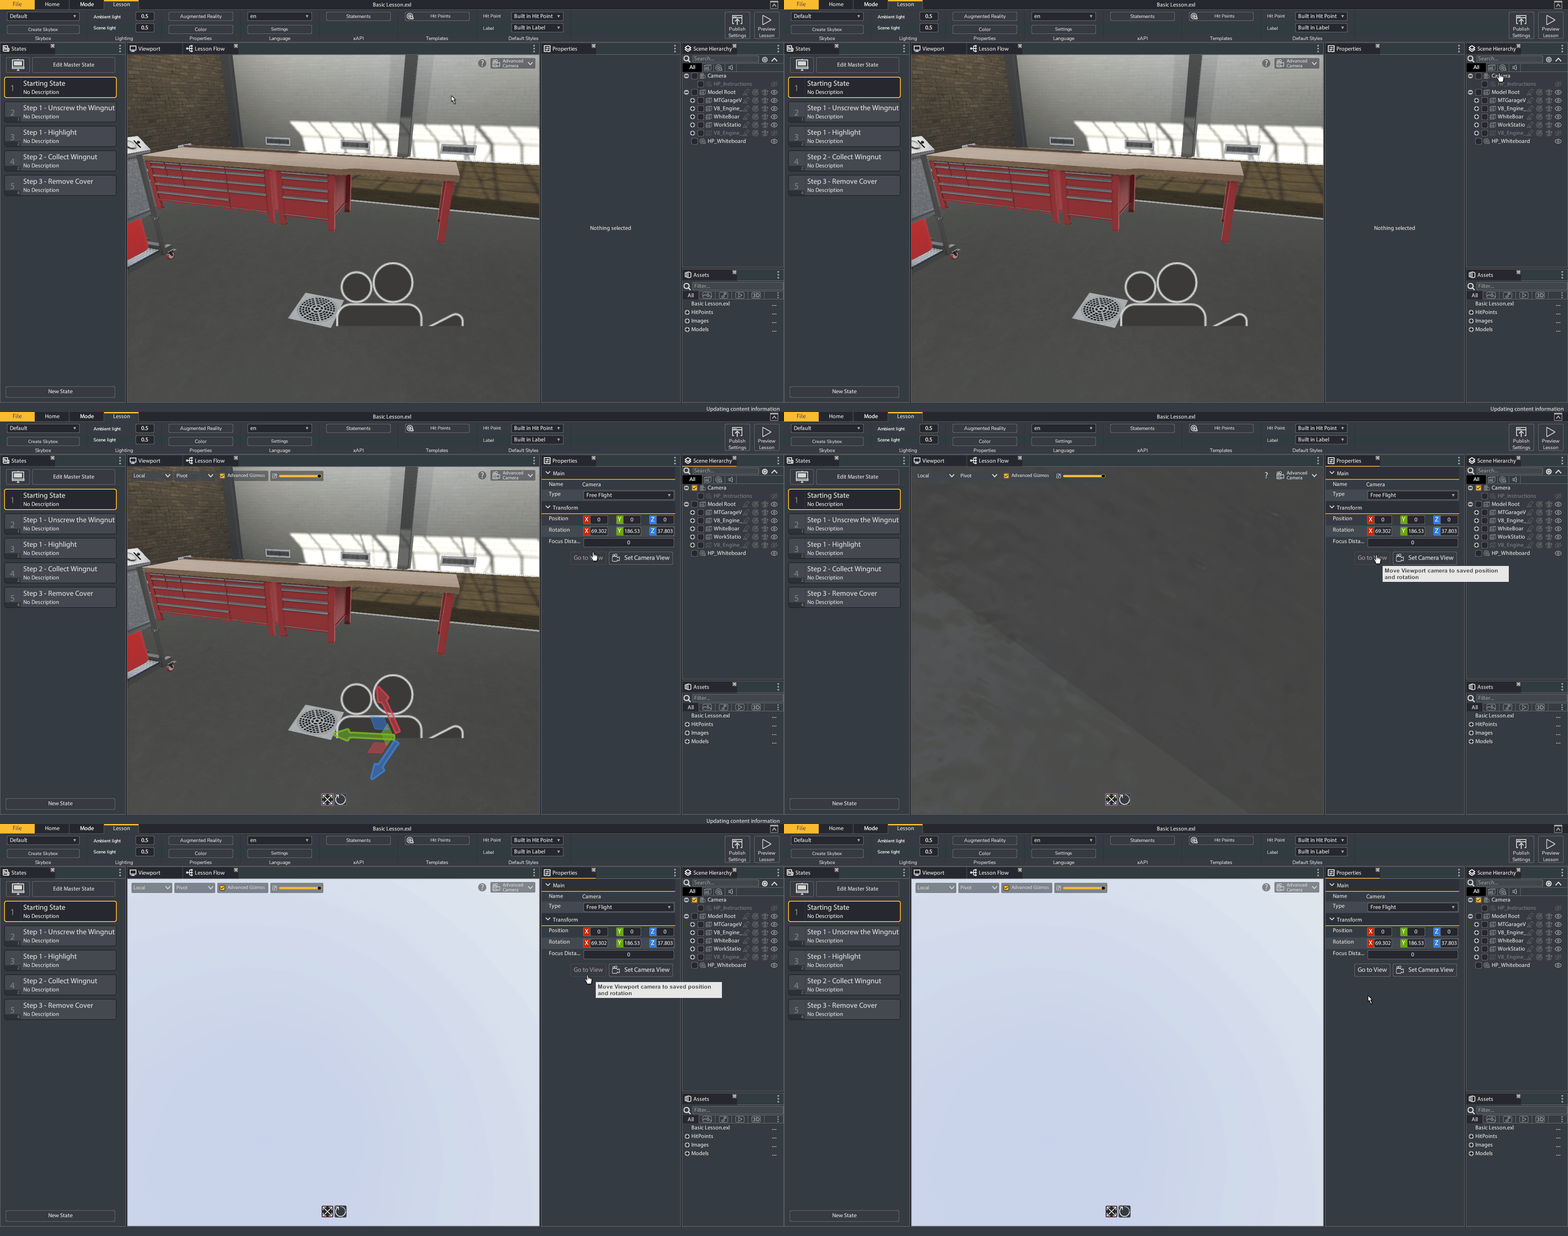
- Set Camera View: This option will set the User Camera's Transform settings to mirror the current view in the Viewport window.
The combination of these two buttons allows you to quickly evaluate where the User's Camera is set to and make broad adjustments.
Camera Types
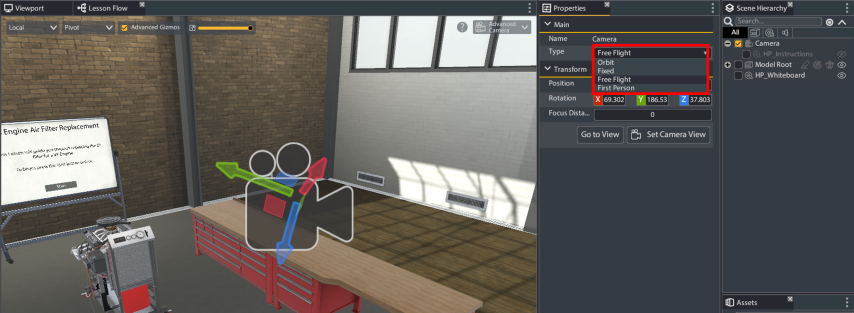
There are 4 Camera Types, which can be selected by using select the Type field in the Camera's Properties window.
- Orbit: This will enable the user to rotate the camera around a fixed point.
- Fixed: The user will be unable to move the camera, but will still be able to zoom.
- Free Flight: This option is enabled by default, and allows the user to freely move the camera around the lesson.
- First Person: The user will be able to move the camera only on spaces you designate as a Walkable Area, and will have a set height. They will also have access to a crouch view via a button click (space bar on computers).
Tutorial: Setting up the User Camera for Air Filter Replacement
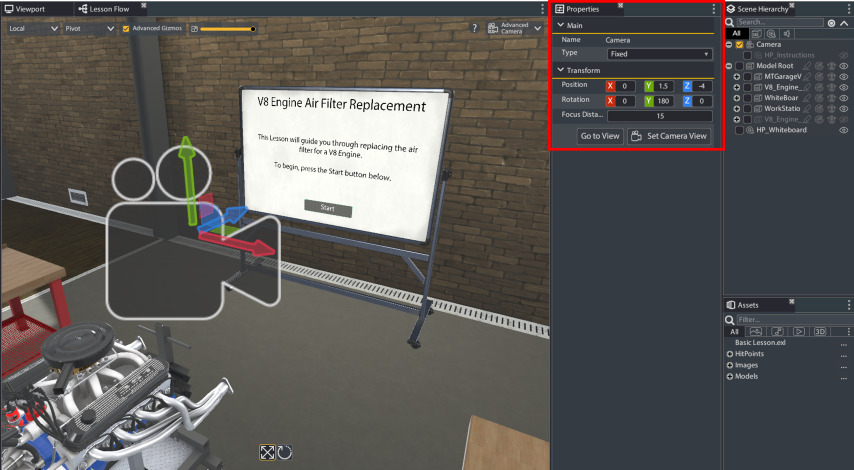
As this lesson is fairly simple, we will use a Fixed Camera Type and will use two different views: the first will be of the whiteboard (for our introductory and concluding states), and the second will of the V8 Engine for the procedure.
Therefore, we will do the following:
- In Starting State, set the Camera to Fixed.
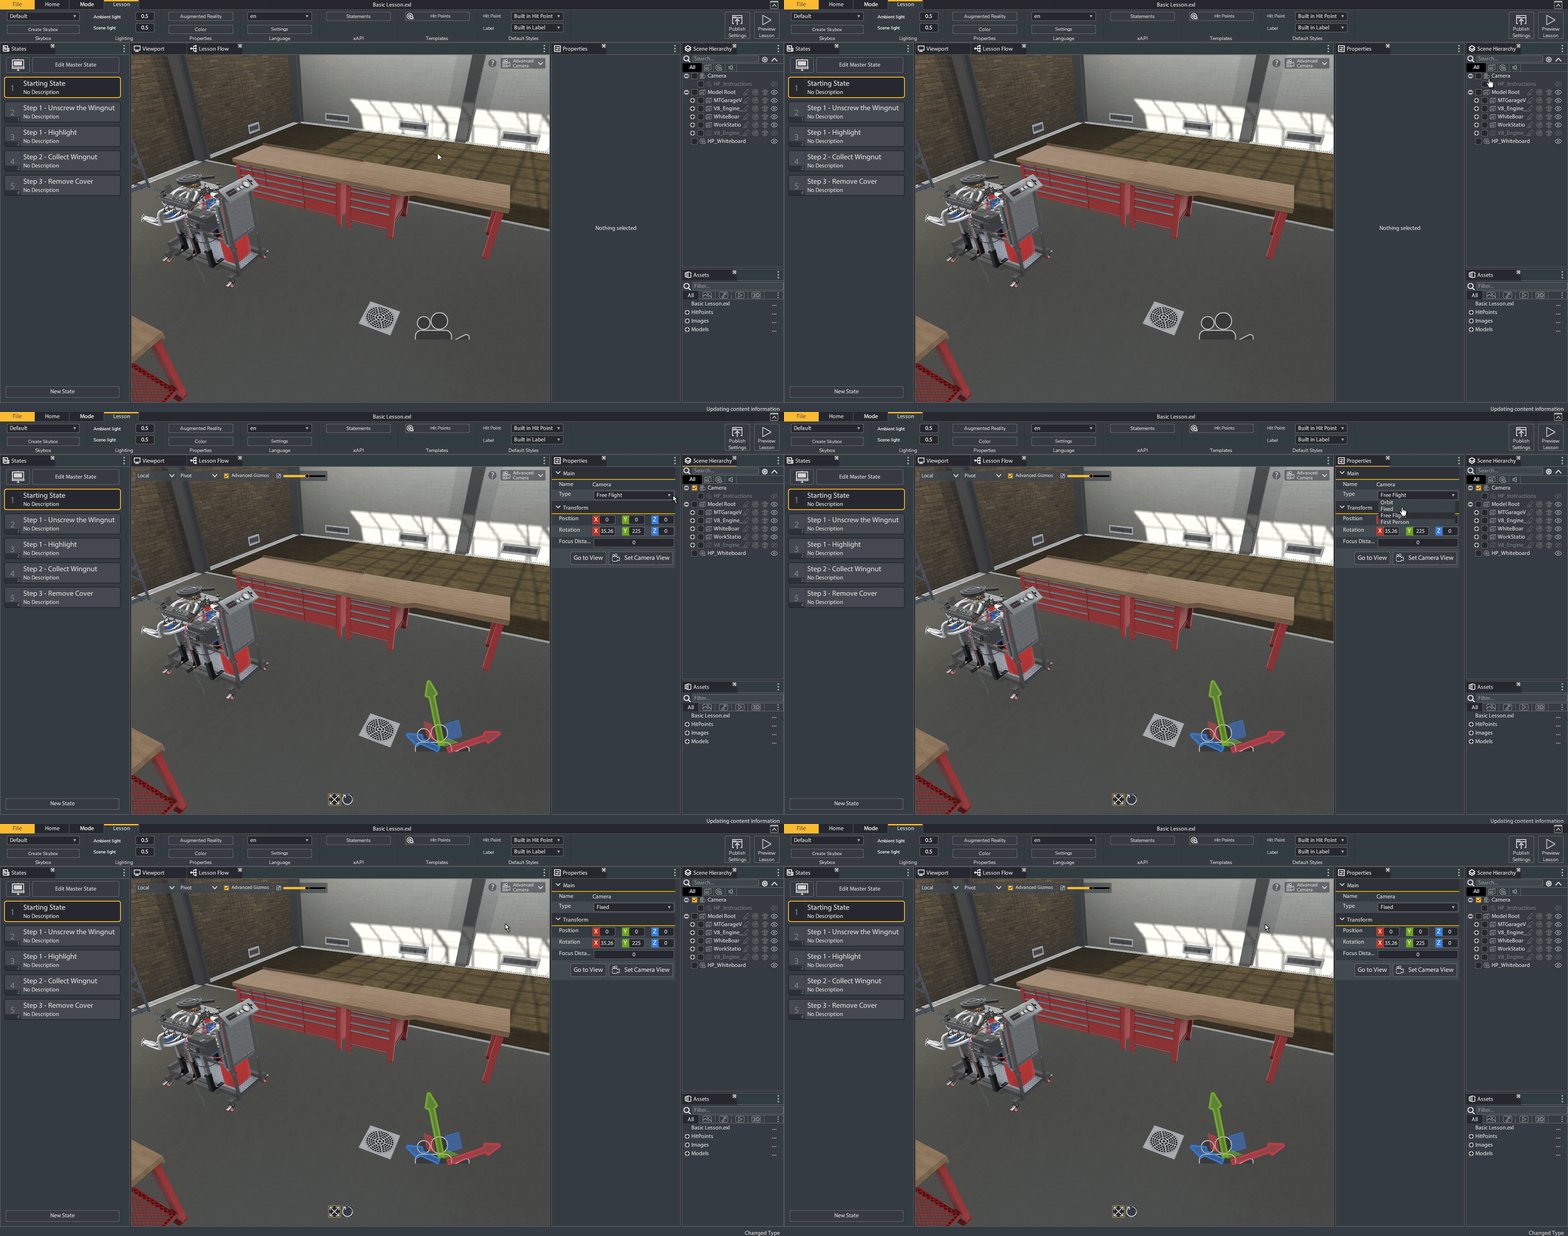
- In Starting State, position the Camera to face the Whiteboard.
- In Step 1 - Unscrew the Wingnut, position the Camera to face the Air Filter, with the workbench in the background.