User Management
All user management can be done from the Modest Tree Admin Dashboard from the webpage app.modesttree.com on the public server. If your organization has a private Modest Tree server then you would navigate there instead, it is usually in the format of (servername).modesttree.com.
Create a New User
New users can sign up on their own from the MT Dashboard Registration page or be manually created by the server admin.
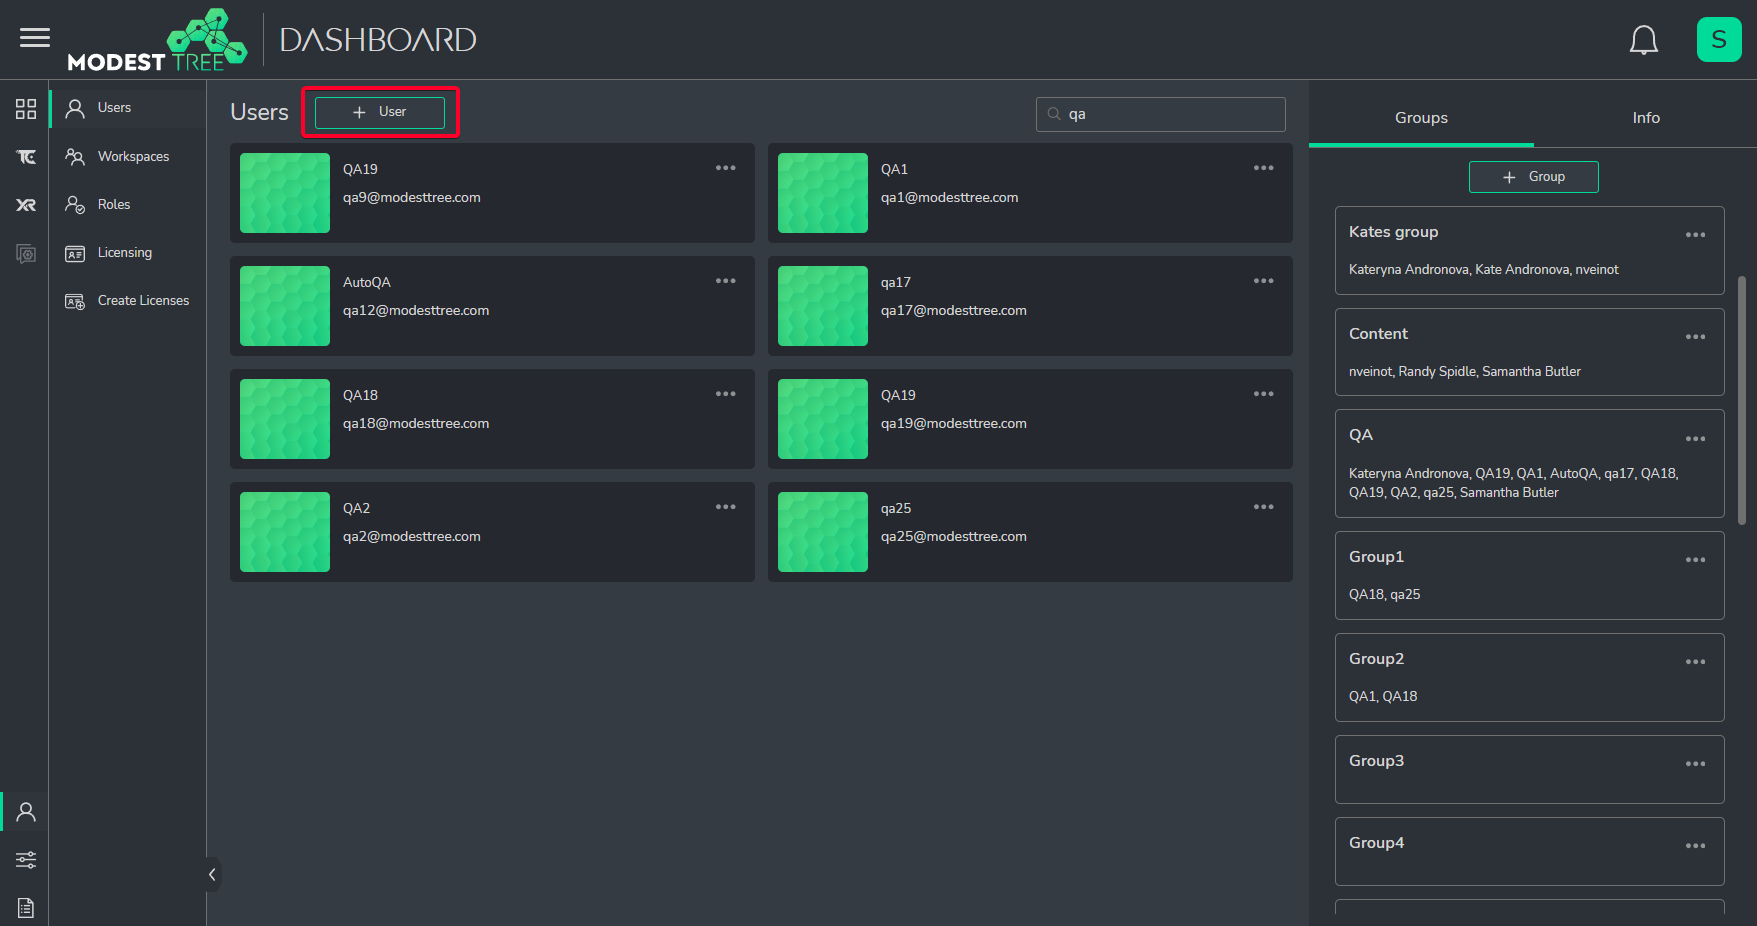
To manually create a new user on the MT Dashboard:
- Click Settings at the bottom of the navigation sidebar.
- Under the User Management section, Click the Users section.
- Click + Create user
- Fill out the form and click Create.
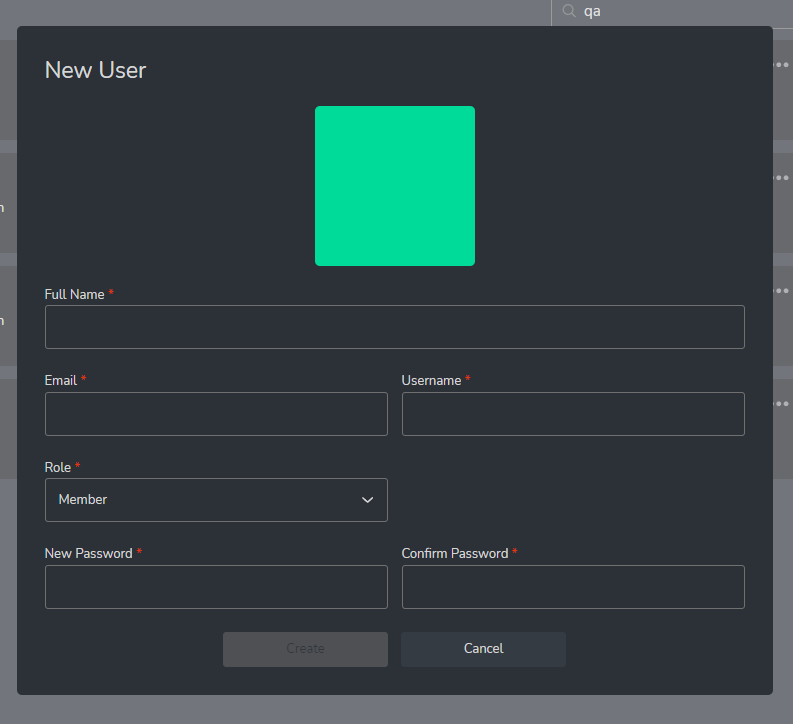
- The newly created user is now added to the user list.
Batch Add Users
If you need to add a list of users at once you can batch create users though a CSV (comma separated value) file. The CSV should be in the following format: FullName,Email,Username,Role,DefaultPassword
NOTE: The role should be either Member or Admin.
You can upload the batch user list by following the steps in the previous section, but at step 3 click "Upload CSV" at the bottom of the form instead of manually filling it out.
Give a User License Access
In order for a user to gain access to a Modest Tree License for playing content they will need to be apart of a workspace with active licenses.
To add a user to a workspace with active licenses:
- Navigate to the Organization Management > Workspaces section under Settings (bottom of navigation sidebar).
- Select a workspace that has active licenses.
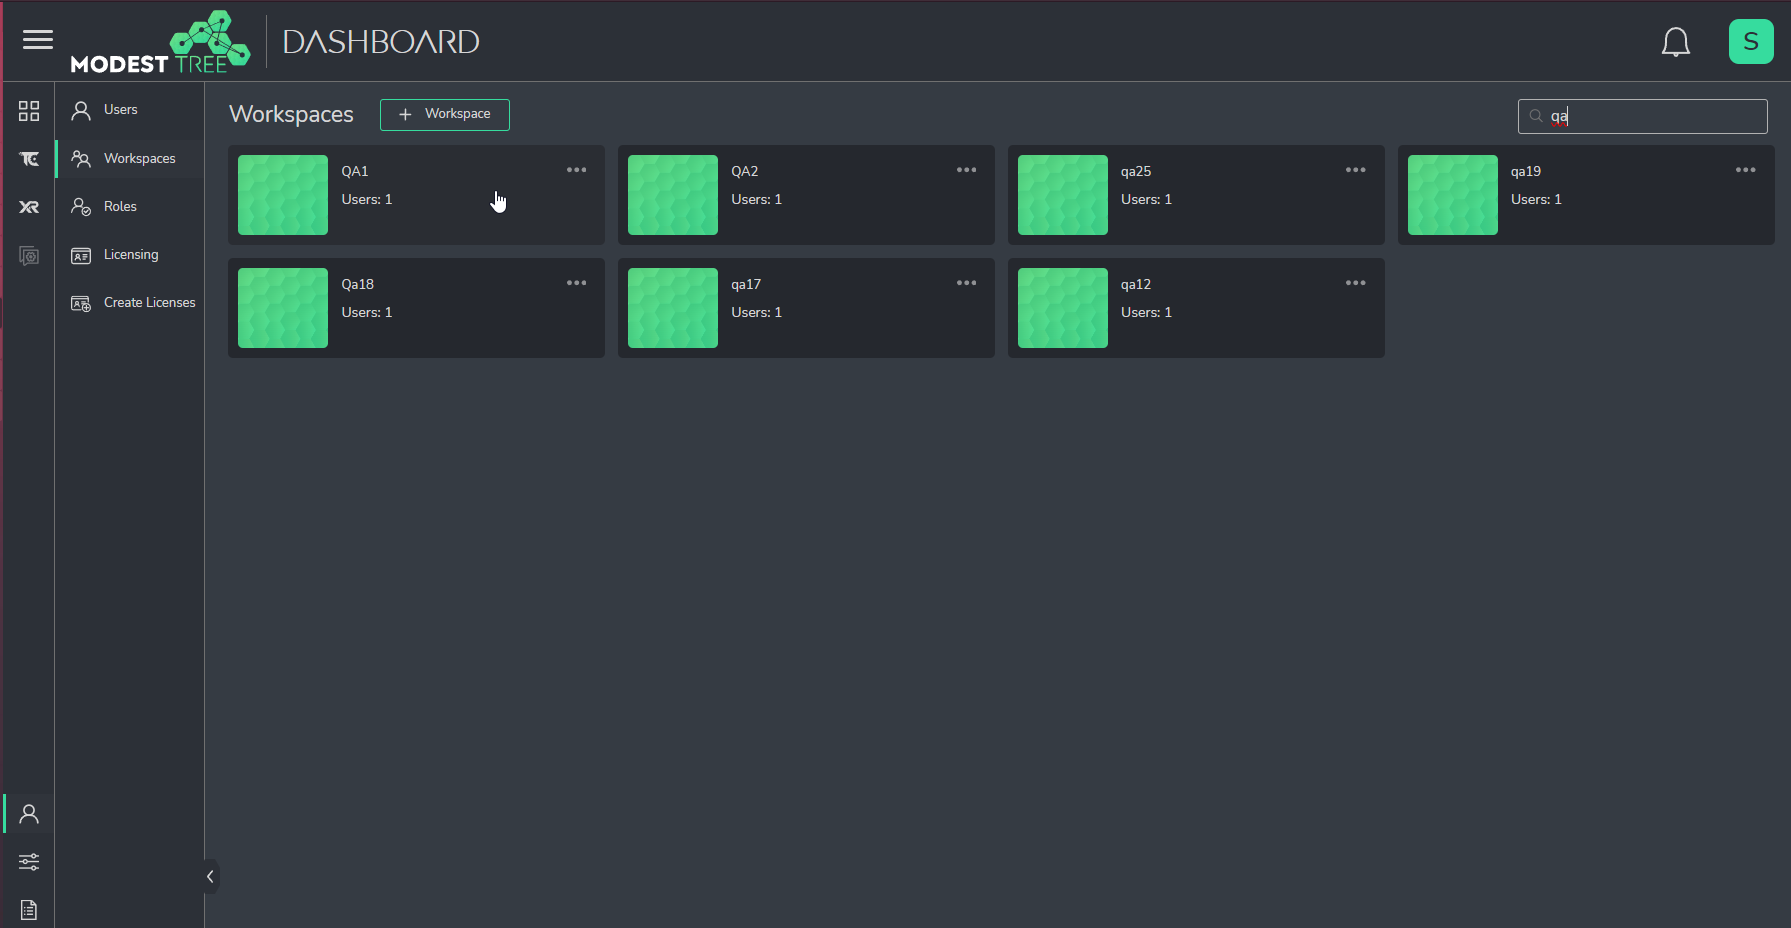
- Click Add Users or Groups in the Workspace Users/Groups tab.
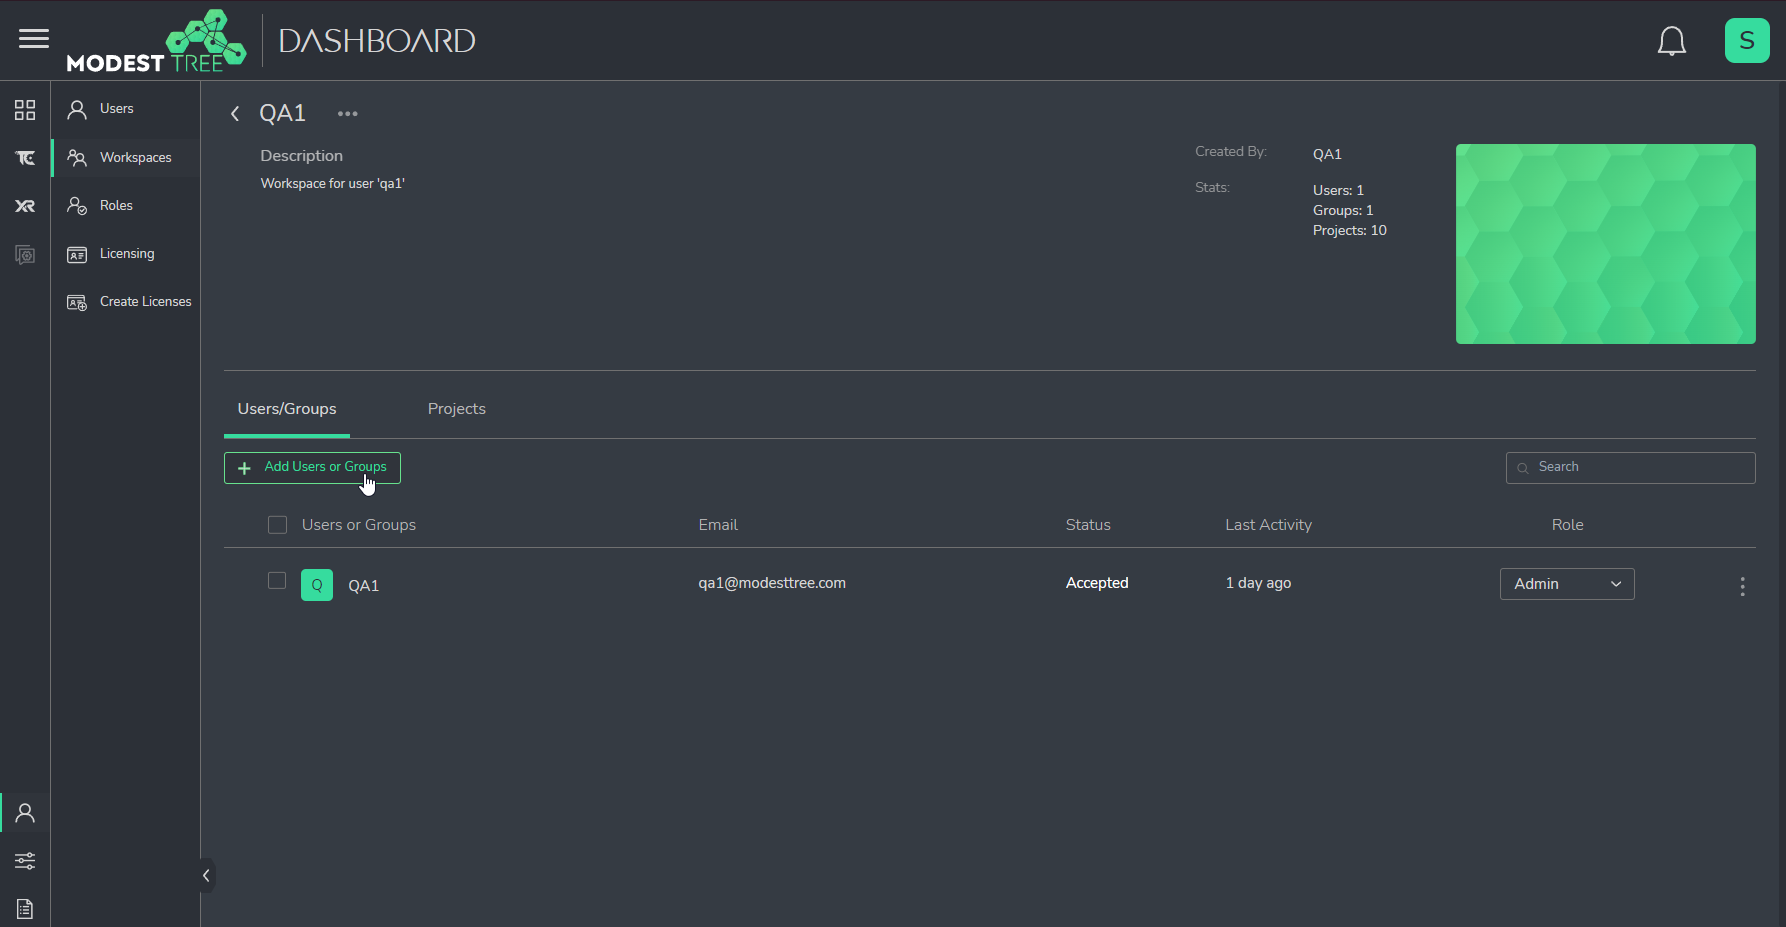
- Click the plus next to each user you wish to add to the workspace and set their permission level as Admin or Member.
- Click Send. The user will now appear in the list of Workspace Users/Groups. They will now acquire a License within this workspace automatically, when they need one, if one is available.

Give A User Project Access
In order for a user to be able to collaborate or view lessons and workcards, they will need to be given permission to see the content. You do this by adding them as a collaborator to all projects they need access to. For Tech Companion a user will need to be given access to the data project the workcards are created from and for Xplorer users will need to be given access to the project the lessons are contained in.
Create a Group (Optional)
You can configure a group of users that share the same access level to make giving project access easier. By making a group of users and adding the group to projects instead of individual users you can just add new users to the group to get access to all the same projects.
To Create a group:
- Under Settings > User Management > Users click + Group on the right side of the page.

- Select users to add to the group name it and click Submit.
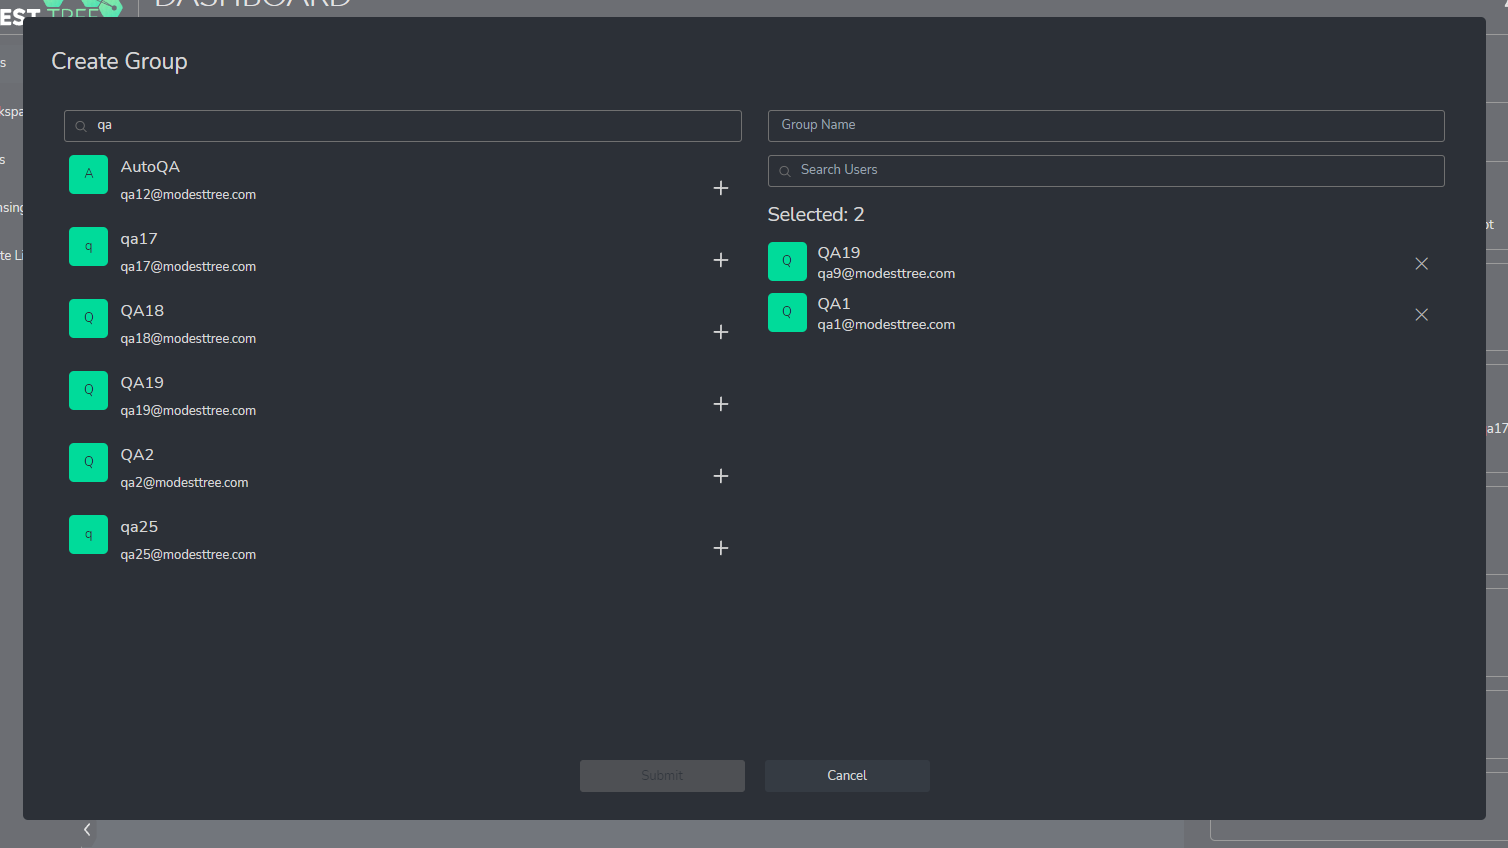
- The group will now show in the group list. The group will also show up when adding users to projects, and workspaces.
NOTE: When you add a user to a group it will instantly give them access to all projects that group was added to retroactively. So only add users to the same group if they share the same access level.
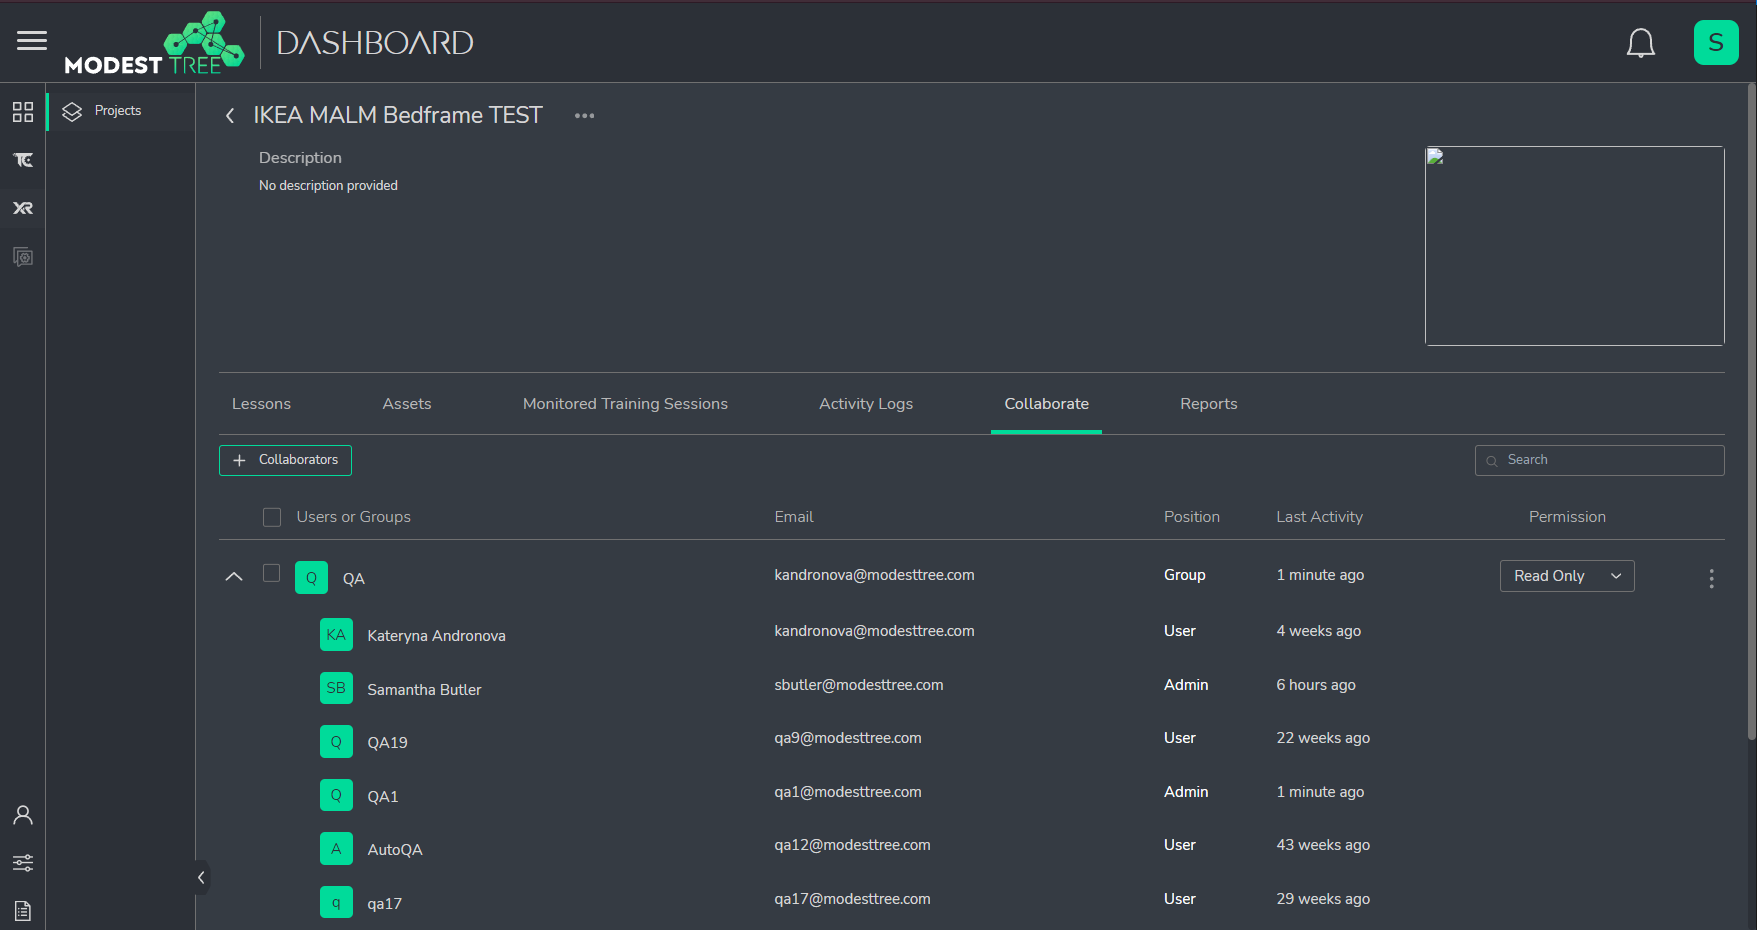
Add User as a Project Collaborator
For a user to see TC Workcards or XR Lessons the user will first need to be given access to the project that contains the source material. For TC that means adding them as a Collaborator on the Workcard data project and for XR it means adding them as a collaborator on a project that contains the lesson. You will give them Read Only access unless they need to edit the source material.
To add a user as a collaborator on a project:
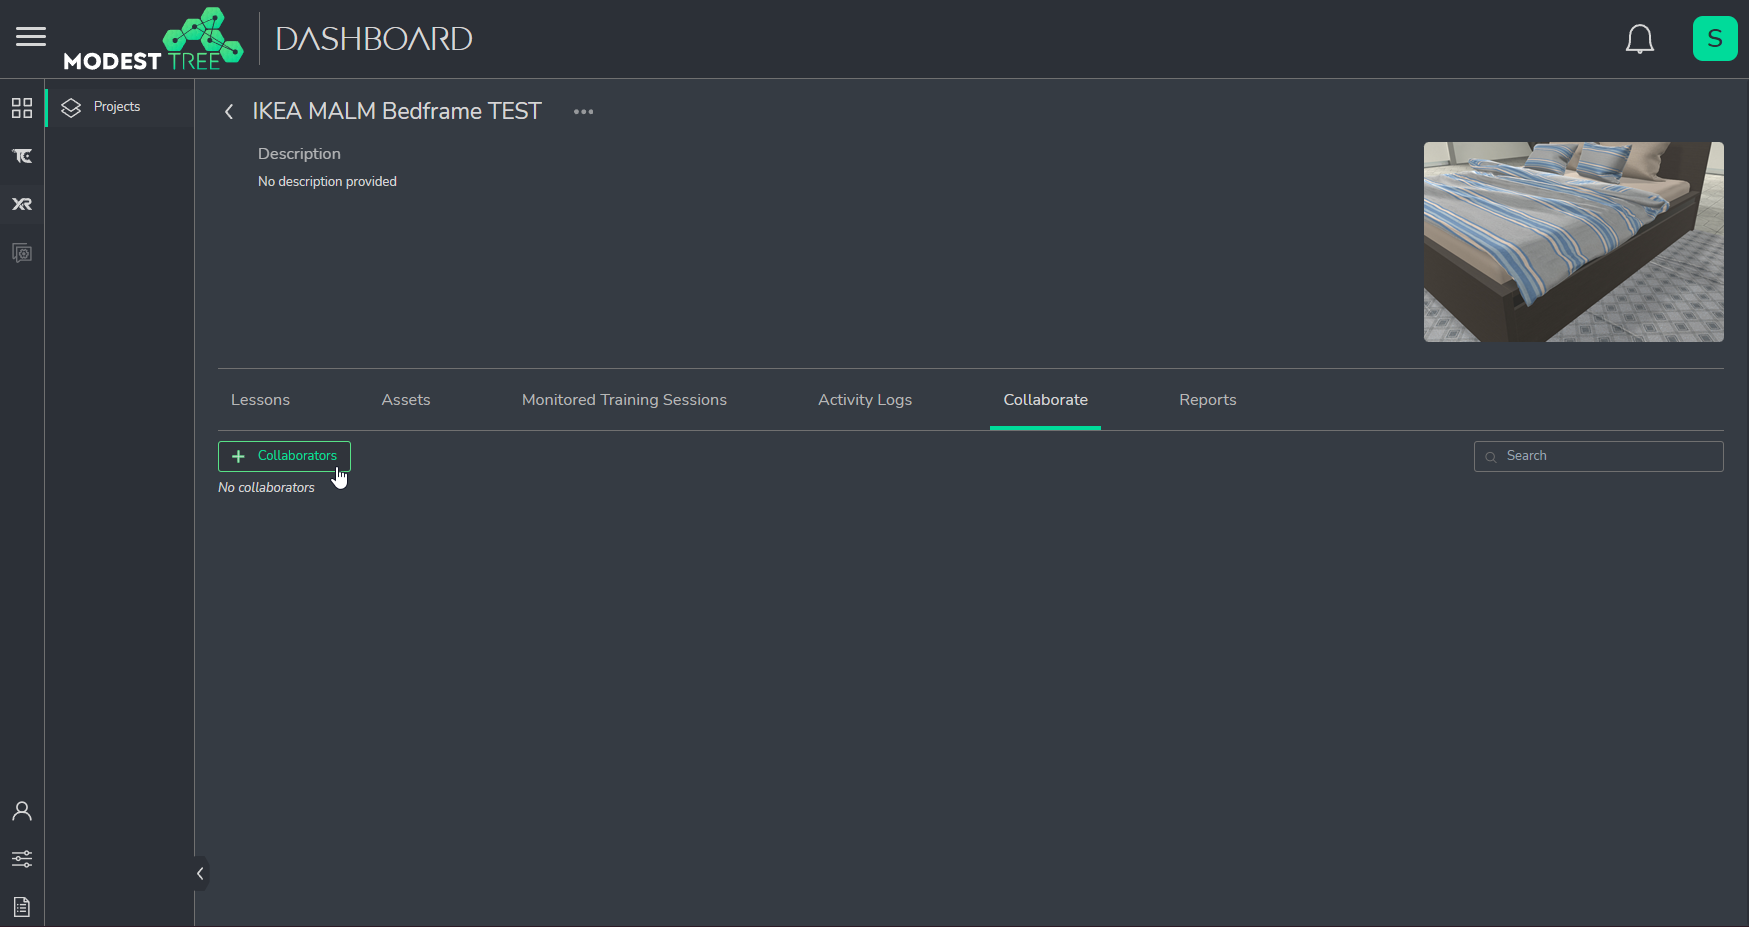
Under Xplorer -> Projects -> click on the project you want to give access to.
Under the Collaborate Tab click + Collaborators.
- Add the group or individual user you wish to give access to. Set as Read Only for viewing access only and Edit to give them permission to make edits to the source files.
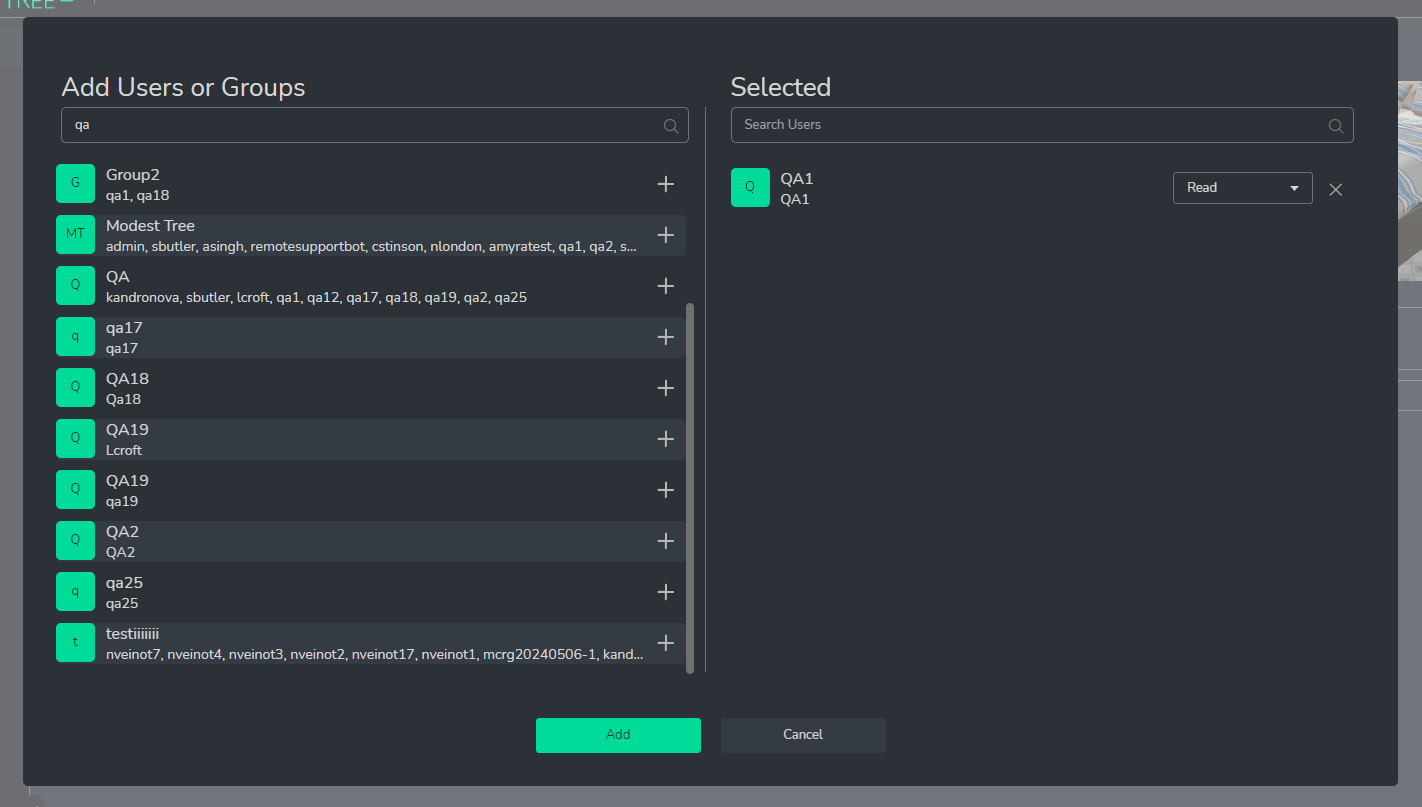
- Now the user/group will show in the collaborator list.